一、创建conda 计算环境
切换到 conda 用户,执行:
conda create -n tensorflow python=3.10


输入y,按回车Enter执行,提示 done 完成:

二、激活环境
source activate tensorflow

三、安装TensorFlow
为确保安装顺利,先将 pip 升级到最新版本,在激活虚拟环境的终端中输入:
pip install --upgrade pip

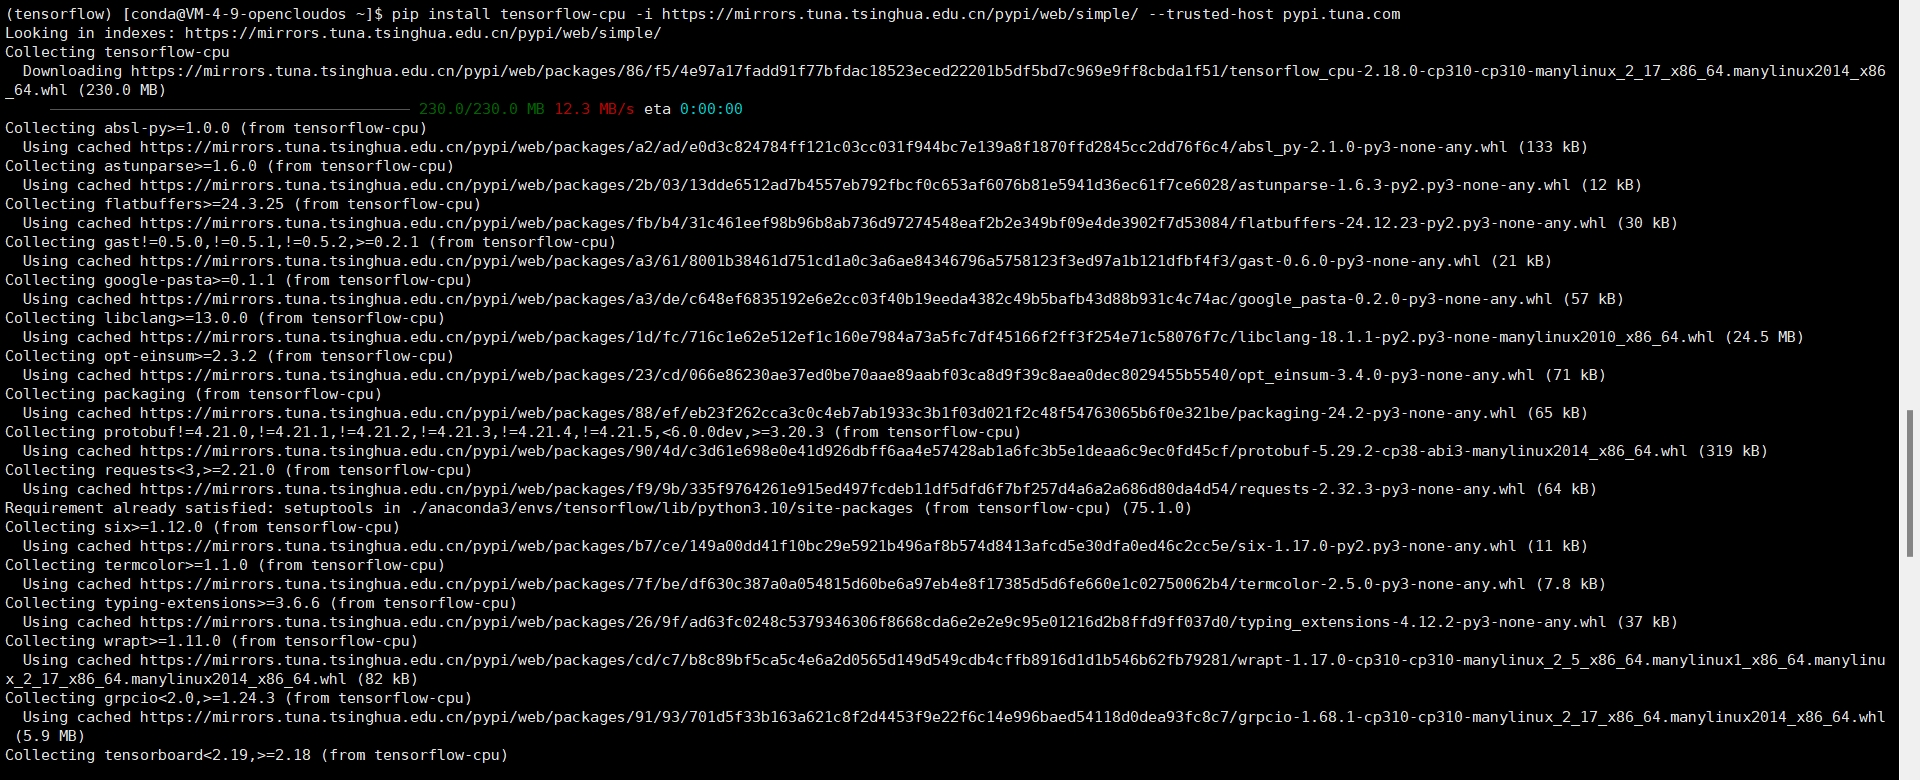
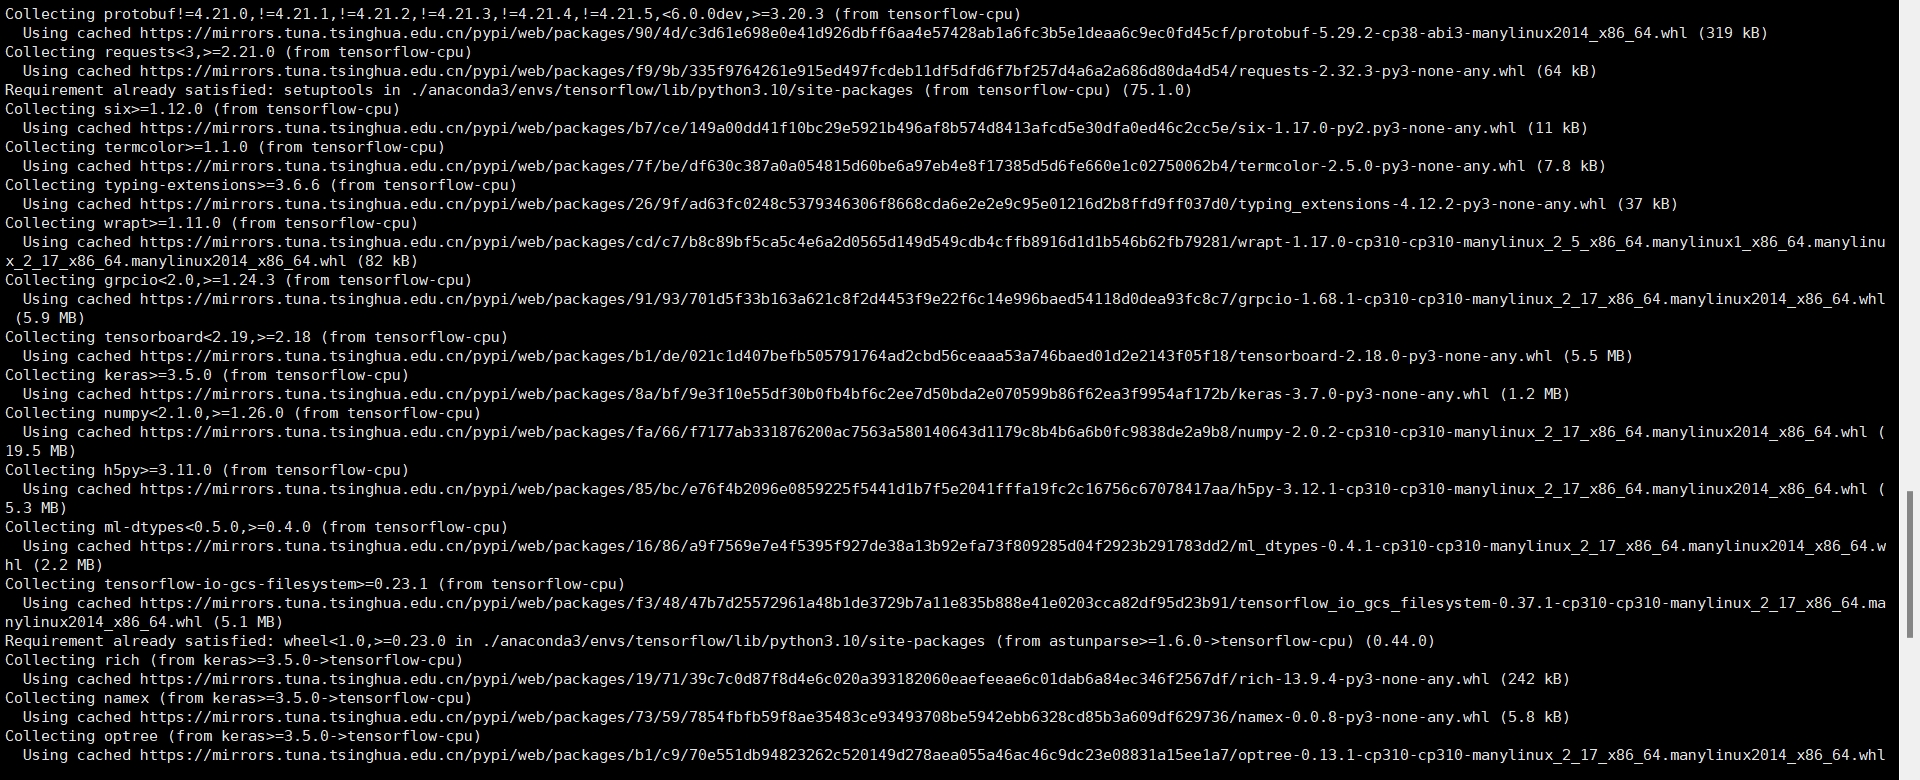
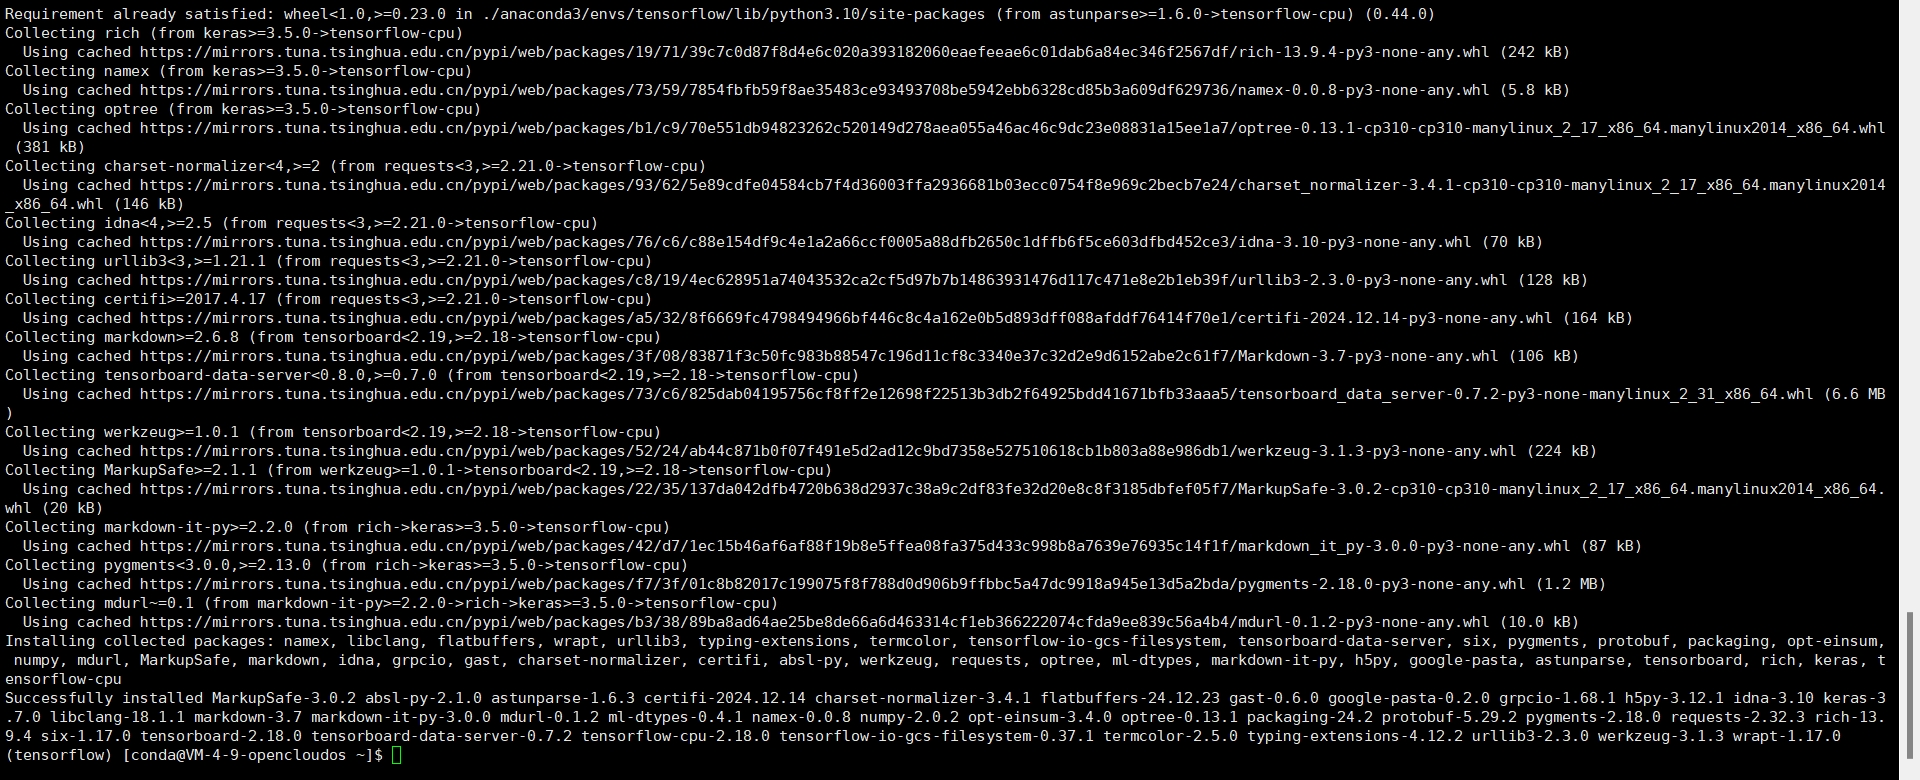
使用以下命令安装 CPU 版的 TensorFlow:
pip install tensorflow-cpu -i https://mirrors.tuna.tsinghua.edu.cn/pypi/web/simple/ --trusted-host pypi.tuna.com


四、验证安装
1、激活conda环境:
打开新的终端窗口,切换到 conda 用户,执行:
conda activate tensorflow

2、进入python:

输入执行:
import tensorflow

执行:
import tensorflow as tf
print(tf.__version__)
若没有报错,并且输出相应版本号,则说明 CPU 版本的 TensorFlow 安装成功。

五、验证Keras
从 TensorFlow 2.x 开始,Keras 已经被完全集成到 TensorFlow 中,作为 tensorflow.keras 模块。因此,你应该使用 import tensorflow.keras as keras 而不是 import keras。
进入python后执行:
import tensorflow.keras as keras
可能出现以下warning信息:
This TensorFlow binary is optimized to use available CPU instructions in performance-critical operations.To enable the following instructions: AVX2 AVX_VNNI FMA, in other operations, rebuild TensorFlow with the appropriate compiler flags.

这个警告是 TensorFlow 在启动时输出的信息,提醒用户一些当前 TensorFlow 二进制文件已经经过优化,以利用充分可用的 CPU 指令集执行性能关键的操作。同时,警告指出在其他操作中,还有额外的CPU指令集(如SSE、SSE2、SSE3、SSE4.1、SSE4.2、AVX2、AVX512F、AVX512_VNNI、FMA)是可以启用的,但目前还没有在TensorFlow编译时启用。
解决方法:在开头加两句
import os
os.environ['TF_CPP_MIN_LOG_LEVEL'] = '2'
再执行:
import tensorflow.keras as keras
print(keras.__version__)
如果没有报错,并且能够输出版本号,则说明 Keras 正确。
